Hello Triangle!#
In this tutorial, we will create a simple “hello triangle,” which is a “hello world” of graphics programming, using DRTK.
Imports#
First, we import drtk and torch. We will also need save_image from torchvision and display from IPython to show images.
[1]:
import drtk
import torch as th
import torch.nn.functional as thf
from IPython.display import display
from torchvision.utils import save_image
from PIL import Image
I0930 183935.688 _utils_internal.py:314] NCCL_DEBUG env var is set to None
I0930 183935.691 _utils_internal.py:323] NCCL_DEBUG is INFO from /etc/nccl.conf
Preparing geometry#
Vertex Buffer#
Next we create a tensor that holds vertex positions (also known as vertex buffer), which should have a shape of \((B \times N \times 3)\), where \(B\) is the batch dimension, \(N\) number of vertices, and \(3\) is the coordinates’ dimension.
In this example, we create a tensor of shape \((1 \times 1 \times 3)\) that holds positions of three vertices of the triangle we want to display a single triangle. The first 2 coordinates coorespond to \((x, y)\) coordinates in the image place, were coordinates \((0, 0)\) correspond to the center of the top-left pixel, and \(( \text{width} - 1, \text{height} - 1)\) corresponds to bottom-right pixel.
Next, we create a tensor to hold the vertex positions (also known as the vertex buffer), which should have a shape of \((B \times N \times 3)\), where \(B\) is the batch dimension, \(N\) is the number of vertices, and \(3\) represents the coordinates’ dimensions.
In this example, we create a tensor of shape \((1 \times 3 \times 3)\) that holds the positions of the three vertices of the triangle we want to display. The first two coordinate values correspond to the \((x, y)\) coordinates in the image plane, where \((0, 0)\) correspond to the center of the top-left pixel, and \((\text{width} - 1, \text{height} - 1)\) corresponds to the center of the bottom-right pixel. The last coordinate is the z, or depth coordinate in camera frame. It
is needed for perspective correct interpolation, z-test, and culling primitive that are behind the camera. Here we set all z coordinates to \(1\) for simplicity.
Note: > Top-left cornder of the image will have coordinates \((-0.5, -0.5)\), and bottom-right corner of the image will have coordinates \((\text{width} - 0.5, \text{height} - 0.5)\). This matched the align_corner=False convention used in PyTorch, which is also in alignment with most of graphics APIs (e.g. OpenGL, Vulkan).
[2]:
# create vertex buffer of shape [1 x n_vertices x 3], here for one triangle `n_vertices` == 3
v = th.as_tensor([[[0, 511.5, 1], [255, 0, 1], [511.5, 511.5, 1]]]).float().cuda()
Index buffer#
Next, we create a tensor to holds the vertex indices (also known as index buffer), which should have a shape of \((F \times 3)\), where \(F\) is number of triangles, and \(3\) is the dimension of the vertex indices within the triangle.
Index buffer is needed to construct primitives (triangles, in our case) out of the vertex buffer. It acts as a pointer array, referencing the vertices in the vertex buffer, allowing multiple triangles to share the same vertices.
In our case, since we have only three vertices in total, the index buffer is simply \([0, 1, 2]\).
[3]:
# create index buffer of shape [n_faces x 3], here for one triangle `n_faces` == 1
vi = th.as_tensor([[0, 1, 2]]).int().cuda()
Rasterize#
Next, we call raterize function. We pass the vertex buffer v, index buffer vi and specify the size of the image plane.
[4]:
index_img = drtk.rasterize(v, vi, height=512, width=512)
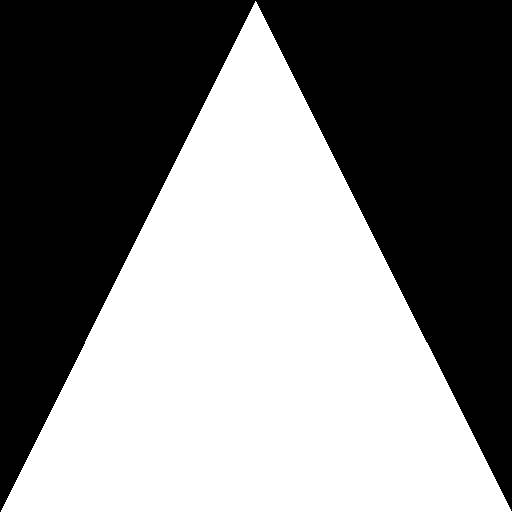
The index image, index_img, returned by drtk.rasterize function, will contain the value \(0\) for all pixels whose centers are covered by the triangle, and \(-1\) for all other pixels.
In the general case, index_img will contain indices corresponding to the triangle index in the index buffer vi for the pixels whose centers are covered by that triangle. If multiple triangles cover the same pixel, the index of the triangle with the smallest rasterized depth at that pixel (greater than zero) will be used.
The index image, index_img has shape of \((B \times height \times width)\), where \(B\) is the batch dimension.
Let’s inspect the values and shape of index_img.
[5]:
print(f"Shape: {index_img.shape}")
print(f"Min value: {index_img.min()}")
print(f"Max value: {index_img.max()}")

save_image((index_img != -1).float(), "img.png")
display(Image.open("img.png"))
Shape: torch.Size([1, 512, 512])
Min value: -1
Max value: 0
Render#
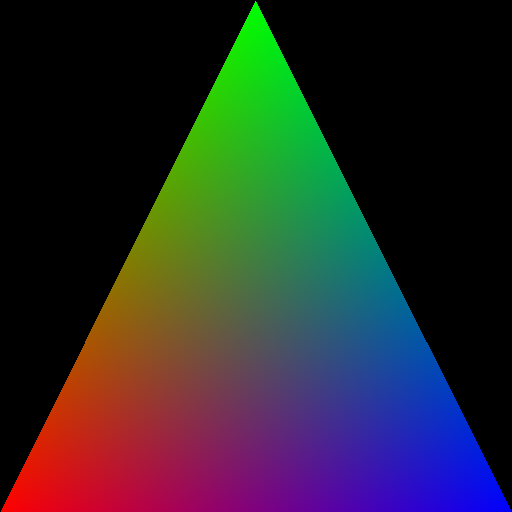
Next, we compute the barycentric coordinates image bary_img. For each pixel, this tensor will store the barycentric coordinates of the fragment associated with that pixel.
The tensor bary_img has a shape of \((B \times 3 \times \text{height} \times \text{width})\), where \(B\) is the batch dimension, and \(3\) is the dimension of the barycentric coordinates.
For pixels not covered by any triangles, the barycentric coordinates will be set to zero.
[6]:
_, bary_img = drtk.render(v, vi, index_img)

print(f"Shape of bary: {bary_img.shape}")
print(f"Min value: {bary_img.min()}")
print(f"Max value: {bary_img.max()}")

save_image(bary_img, "img.png")
display(Image.open("img.png"))
Shape of bary: torch.Size([1, 3, 512, 512])
Min value: 0.0
Max value: 0.99853515625
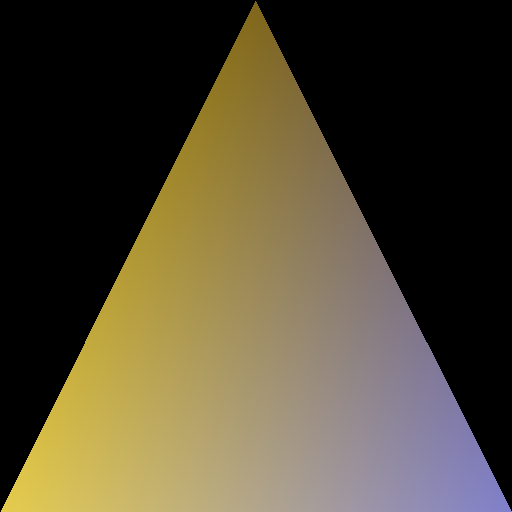
Next, we can use function drtk.interpolate to interpolate the attributes of the triangle vertices using the barycentric coordinates. The function returns a tensor of shape \((B \times A \times \text{height} \times \text{width})\), where \(A\) is the size of the attribute.
For this example, we will asign some colors to the vertices and interpolate them. Note that the attribute buffer should be of shape \((B, A, N)\), where \(N\) is number of vertices.
Note: > We have to compute mask as >> >> mask = index_img != -1 >>
So that we could zero-out values of pixels not covered by the triangle. Unlike
drtk.render, thedrtk.interpolatefunction will not set those pixels to zero.
[7]:
va = th.as_tensor([[[0.9, 0.8, 0.3], [0.5, 0.4, 0.1], [0.5, 0.5, 0.8]]]).float().cuda()

mask = index_img != -1
rgb_img = drtk.interpolate(va, vi, index_img, bary_img) * mask[:, None]

print(f"Shape of rgb_img: {rgb_img.shape}")
print(f"Min value: {rgb_img.min()}")
print(f"Max value: {rgb_img.max()}")

save_image(rgb_img, "img.png")
display(Image.open("img.png"))
Shape of rgb_img: torch.Size([1, 3, 512, 512])
Min value: 0.0
Max value: 0.8990218639373779
Texturing#
Next, we will add texture coordinates and sample a texture.
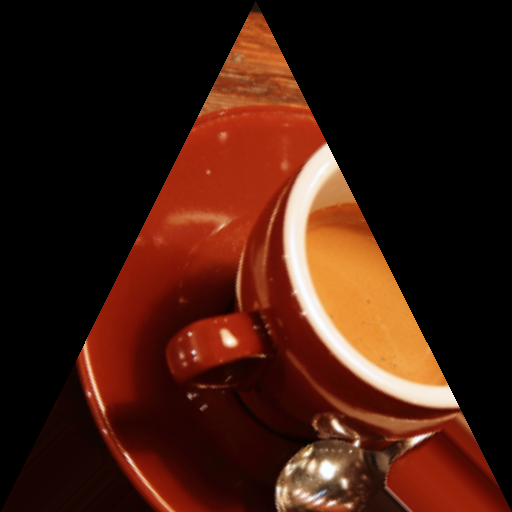
Let’s prepare a texture:
[8]:
import skimage

tex = (
    th.as_tensor(skimage.data.coffee(), dtype=th.float32)
    .permute(2, 0, 1)[None, ...]
    .mul(1 / 255)
    .contiguous()
    .cuda()
)

tex = thf.interpolate(tex, scale_factor=0.65, mode="bilinear", align_corners=False)
tex = tex[:, :, :256, :256]

save_image(tex, "img.png")
display(Image.open("img.png"))

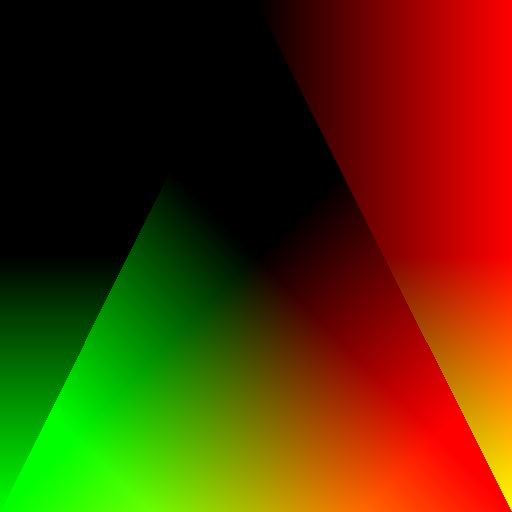
Texture Coordinates#
Next, we create a vertex buffer with texture coordinates, and interpolate it with drtk.interpolate.
Note that texture coordinates values for non-covered pixels are non-zero. That is intensional, we will remove those pixels after we sample the texture.
[9]:
vt = (
    th.as_tensor([[[-1.0, 1.0], [0.0, -1.0], [1.0, 1.0]]]).float().cuda()
    # add rotation to make it more interesting
    @ th.as_tensor([[[0.707, -0.707], [0.707, 0.707]]]).float().cuda()
)

vt_img = drtk.interpolate(vt, vi, index_img, bary_img)

save_image(th.cat([vt_img, th.zeros_like(vt_img[:, :1])], dim=1), "img.png")
display(Image.open("img.png"))
Sampling texture#
To sample the texture, we simply use torch.nn.functional.grid_sample.
We recommed to always useing the following set of flags:
mode="bilinear", padding_mode="border", align_corners = False
[10]:
rgb_img = (
    thf.grid_sample(
        tex,
        vt_img.permute(0, 2, 3, 1),
        mode="bilinear",
        padding_mode="border",
        align_corners=False,
    )
    * mask[:, None]
)

save_image(rgb_img, "img.png")
display(Image.open("img.png"))
This concludes the “Hello Triangle” tutorial.